
TL;DR:
- Updating website images involves planning, technical preparation, and optimization to enhance credibility and user engagement. Properly selecting, resizing, and optimizing visuals ensures faster load times, better SEO, and consistent branding. Regular reviews and strategic photography maximize visual impact and build trust with visitors.
Updating website imagery is the process of systematically replacing and enhancing visual content on a website to maintain relevance, improve engagement, and support brand messaging. Outdated photos signal neglect to visitors before they read a single word. Fresh, well-planned visuals build credibility and trust far faster than copy alone. This guide walks you through how to update website imagery properly, from pre-shoot planning to technical optimisation, so every image earns its place on your site.
What preparation is needed before updating website images?
Preparation is the step most website owners skip, and it is the one that costs them the most. Without knowing image sizes and aspect ratios upfront, images often fail to fit their intended slots or engage visitors properly. Getting this right before a single photo is taken saves time, money, and frustration.
Start by auditing your site and listing every area that needs new visuals. Common locations include:
- Hero banners on the homepage and key landing pages
- Team and staff portraits on the About page
- Product or service shots used across category and detail pages
- Background images for section breaks and testimonial areas
- Blog thumbnails and social sharing images
Once you have your list, speak to your web developer or consult your CMS documentation to confirm the exact dimensions and file format requirements for each slot. A homepage hero banner might need a 1920×1080px landscape image, while a team portrait may require a square crop at 400×400px. Commissioning photography without channel-specific planning wastes resources and produces images that simply do not fit.
Professional photographers recommend the “shooting wide” technique as a practical solution to this challenge. Shooting wide images enables cropping into multiple formats, including banners, thumbnails, and portraits, without quality loss or losing visual context. One well-composed wide shot can serve your homepage hero, your social media header, and your email newsletter banner simultaneously.
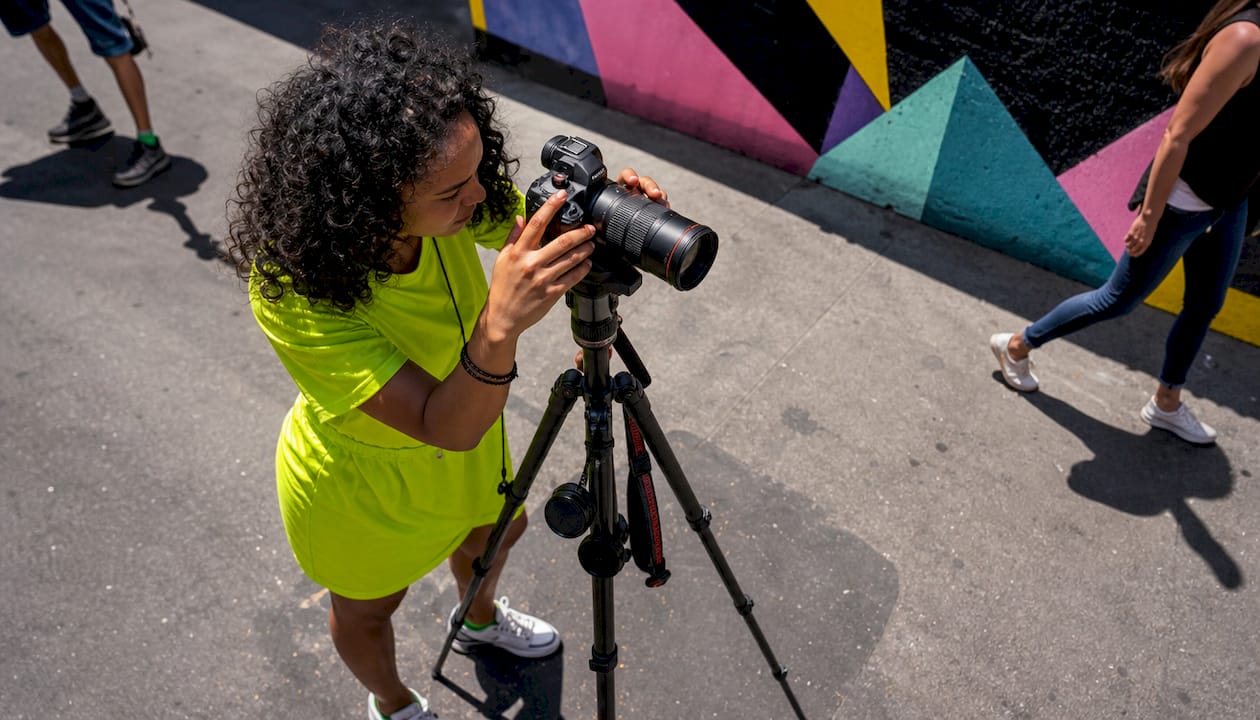
Pro Tip: Create a simple one-page photography brief before your shoot. List every image slot on your site, its required dimensions, and its intended purpose. Share this with your photographer so every shot is composed with the final use in mind. You can also use a website creation workflow to map image locations before the shoot begins.
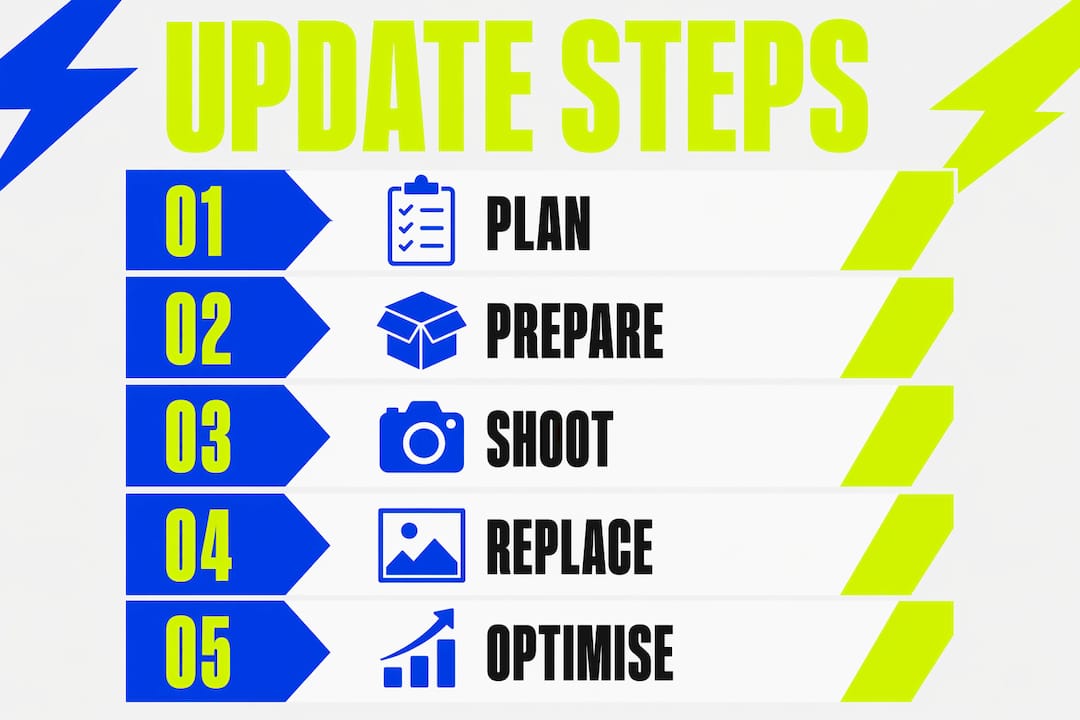
How do you replace images on your website step by step?
The actual process of swapping images varies slightly by platform, but the core steps remain consistent across WordPress, Squarespace, Wix, and most other content management systems.
-
Prepare your files locally. Resize and compress every image before uploading. Name each file descriptively using lowercase letters and hyphens between words, for example “leeds-office-reception-team.jpg” rather than “IMG_4892.jpg”. Descriptive names help search engines index your images correctly.
-
Log in to your CMS dashboard. In WordPress, navigate to Media > Add New to upload files to your media library. In Squarespace or Wix, use the built-in image manager within each page editor.
-
Locate the image you are replacing. Open the relevant page in your editor. Click on the existing image to select it. Most platforms display a replace or swap option directly in the image settings panel.
-
Upload or select the new image. Choose your pre-prepared file from your local drive or media library. Confirm the correct dimensions are applied and that the image fills its container without distortion.
-
Update the alt text immediately. Alt text is the written description attached to an image in the HTML. Descriptive alt text improves SEO by helping search engines understand image content and context. Write a concise, natural description of what the image shows, for example “Kukoocreative design team reviewing brand assets in Leeds studio.”
-
Preview on mobile before publishing. Open the page preview on a smartphone-sized viewport. Check that the image crops correctly, loads without distortion, and does not push other content out of alignment.
-
Publish and clear your cache. After publishing, clear your browser cache and any caching plugin active on your site. This forces the new image to display rather than the cached version of the old one.
Pro Tip: Keep a simple spreadsheet tracking every image you replace. Log the page URL, the image slot, the file name, the alt text used, and the date of update. This makes future audits far quicker and helps you maintain visual consistency across your site.
How do you optimise website images for SEO and speed?
Image optimisation is where many website owners lose significant ground. Uploading a full-size camera file directly to your CMS is one of the most common and damaging mistakes you can make. Uploading full-size photos without resizing slows your site and degrades the visitor experience, which in turn harms your search rankings.
Follow these optimisation steps every time you update your visuals:
- Resize before upload. Scale images to the maximum display size required. A hero banner displayed at 1200px wide does not need a 4000px source file.
- Compress without visible quality loss. Tools such as TinyPNG, Squoosh, or ShortPixel reduce file size by 60–80% with no visible degradation. Aim for files under 200KB for most web images.
- Use WebP format where possible. Next-gen formats like WebP combined with CDN delivery can cut page loading times significantly and improve SEO rankings. WordPress supports WebP natively from version 5.8 onwards.
- Enable lazy loading. Lazy loading defers non-visible images to improve initial page load speed. WordPress includes built-in lazy loading, and plugins such as WP Rocket or Smush extend this functionality.
- Use a content delivery network (CDN). A CDN serves your images from a server geographically close to each visitor, reducing load times across regions.
The table below summarises the key optimisation techniques and their primary benefit:
| Technique | Primary benefit |
|---|---|
| Resize to display dimensions | Reduces file size without quality loss |
| Compress with TinyPNG or Squoosh | Cuts load time by up to 80% |
| Convert to WebP format | Faster delivery, better SEO signals |
| Enable lazy loading | Improves initial page load speed |
| Serve via CDN | Faster delivery for all geographic locations |
A visual content SEO checklist can help you confirm every optimisation step is complete before you publish updated images.
What are the best practices for updating website visuals?
The best practice that separates credible websites from neglected ones is a scheduled update routine. Team photos should be refreshed every three years to avoid outdated content as personnel change, while product images can last the full product lifecycle. Setting calendar reminders for these reviews removes the guesswork.
Beyond scheduling, these practices keep your visuals working hard for your brand:
- Match images to their channel specs. A photo planned for a homepage hero needs different composition to one planned for a blog thumbnail. Planning images according to where they will be used and their required technical specs is the single biggest factor in maximising image impact.
- Never skip alt text. Every image on your site needs a descriptive alt attribute. Skipping alt text harms both accessibility and SEO simultaneously.
- Check mobile views after every update. A significant proportion of web traffic arrives on mobile devices. An image that looks perfect on desktop may crop awkwardly or load slowly on a phone.
- Maintain visual consistency. Use a consistent colour palette, lighting style, and composition approach across all images. Inconsistent visuals undermine brand trust even when individual photos are high quality.
- Avoid over-large files. The most common error is uploading camera-original files directly. Always compress before upload.
Pro Tip: Pair your image update schedule with a broader brand audit. When you refresh your team photos, also review your logo usage, typography, and colour consistency across the site. You can find practical guidance on creating brand assets that stay consistent over time.
Key takeaways
Updating website imagery delivers the greatest return when planning, technical preparation, and optimisation work together from the start.
| Point | Details |
|---|---|
| Plan before you shoot | Confirm image dimensions and channel use before commissioning photography. |
| Shoot wide for versatility | Wide composition allows one image to be cropped into banners, thumbnails, and portraits. |
| Optimise every file | Resize, compress, and convert to WebP before uploading to protect page speed. |
| Write descriptive alt text | Alt text improves both search engine rankings and site accessibility. |
| Schedule regular reviews | Refresh team photos every three years and audit all visuals annually. |
Why I think most businesses get website imagery backwards
After working with business owners on their visual branding for years, I have noticed a consistent pattern. Most people treat photography as the last step in a website project rather than the first. They build the site, finalise the layout, and then scramble to find images that fit. The result is a homepage hero filled with a stock photo that looks nothing like the business, or a team page with portraits shot at wildly different times in different lighting conditions.
The businesses that get the best results do the opposite. They start with a clear brief, confirm every image slot and its dimensions, and brief their photographer accordingly. Visual storytelling is not an afterthought. It is the foundation that makes every other element of your site more persuasive.
The other thing I would push back on is the idea that image updates are a one-off task. Your website is a living document. Personnel change, services evolve, and brand positioning shifts. An image that was perfect three years ago may now show a team member who has left, a product you no longer sell, or a visual style that no longer reflects who you are. Build the review into your annual calendar and treat it as seriously as you would a financial audit.
Good imagery does not just make your site look better. It builds the kind of trust that converts visitors into clients. That is worth the investment in planning and the discipline to keep it current.
— Kukoo
How Kukoocreative supports your visual brand refresh
Refreshing your website imagery is far more straightforward when you have a clear visual strategy behind it. At Kukoocreative, we have spent over a decade helping UK business owners build credible, consistent online presences, from photography planning and brand asset creation to full web design for Leeds businesses and beyond.
Whether you need help defining your image brief, aligning your visuals with your brand identity, or building a site that makes every photo work harder, we are here to help. Our visual identity creation service gives you a clear, practical framework for presenting your business with confidence. Get in touch with the Kukoocreative team and let’s build something you are genuinely proud to show people.
FAQ
How often should I update my website images?
Team photos benefit from a refresh every three years as staff change, while product images can remain for the product’s full lifecycle. An annual visual audit helps you catch anything that has become outdated.
What image format is best for website use?
WebP is the recommended format for most website images in 2026, as it delivers smaller file sizes than JPEG or PNG with comparable quality. Most modern browsers and CMS platforms support WebP natively.
Does alt text really affect SEO?
Yes. Descriptive alt text helps search engines understand image content and improves your chances of ranking in image search results. It also makes your site more accessible to visitors using screen readers.
What is the biggest mistake when replacing website images?
Uploading full-size camera files without resizing or compressing is the most damaging error. Full-size photos slow your site and harm both user experience and search rankings. Always compress images before upload.
What does “shooting wide” mean for website photography?
Shooting wide means composing photographs with extra space around the subject so the image can be cropped into multiple formats later. A single wide shot can produce a homepage banner, a square thumbnail, and a portrait crop without any loss of quality or context.